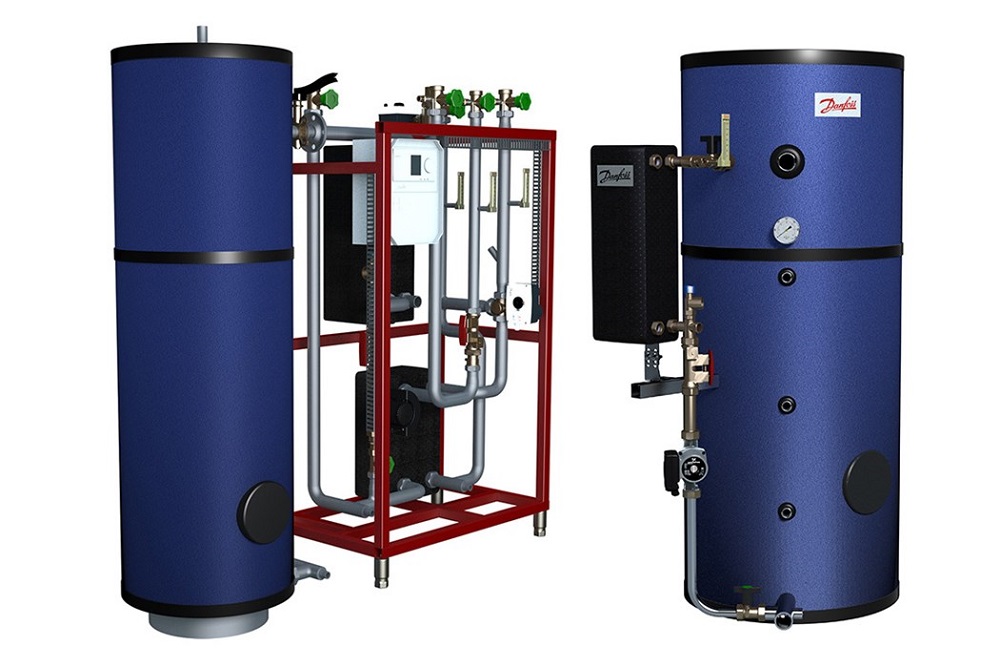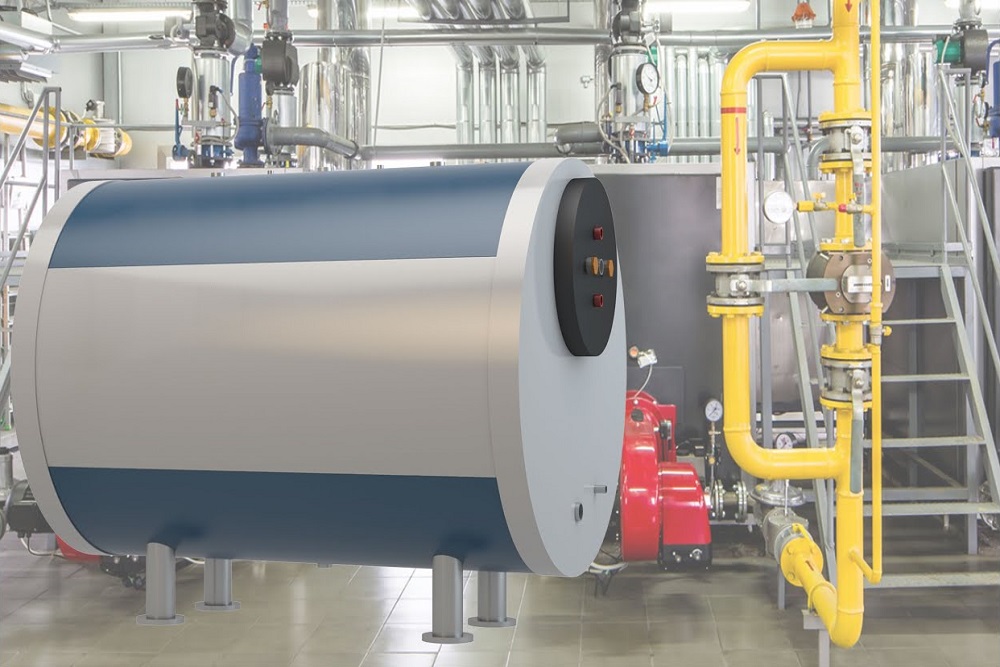
Have you ever experienced running out of hot water in the middle of a shower on a freezing winter morning? Or maybe you're tired of waiting for the water to heat up before you can start washing the dishes. If you answered yes to any of these questions, then it's time to consider installing a hot water reservoir in your home. A hot water reservoir, also known as a hot water storage tank, can provide you with a continuous supply of hot water whenever you need it. So, let's get started!
Below are the steps to installing a hot water reservoir
1. Assess Your Hot Water Needs
Before you start the process of installing a hot water reservoir, it's crucial to assess your hot water needs. This will help you determine the type and size of the hot water storage tank you'll need to install. Consider the number of people living in your home, the appliances that require hot water, and how much hot water each person or appliance uses daily. You can consult a professional plumber to get a precise estimate of your hot water requirements.
2. Choose the Right Type of Hot Water Reservoir
There are various types of hot water reservoirs available in the market, and each has its advantages and disadvantages. The most common types include:
- Conventional Storage Tank: This is the most common type, which consists of a large tank that stores and heats water. It is relatively inexpensive and easy to install.
- Tankless Water Heater: This type heats water on demand, eliminating the need for a storage tank. Tankless water heaters are more energy-efficient but can be more expensive and complex to install.
- Heat Pump Water Heater: This type uses heat from the air or ground to heat the water. It is highly energy-efficient but may not perform well in cold climates.
3. Select the Appropriate Size of the Hot Water Storage Tank
The size of the hot water storage tank you choose should be determined by your hot water needs and the space available for installation. A general rule of thumb is to have a tank that can hold enough hot water to supply your household's needs for an entire day. Consult a professional plumber to help you determine the right size of the tank for your home.
4. Determine the Ideal Location for Installation
The location of your hot water reservoir is crucial for its efficiency and ease of access. Ideally, the tank should be installed near the appliances that use hot water, such as the kitchen, bathroom, and laundry room. The installation site should provide enough space for the tank, have proper ventilation, and be easily accessible for maintenance and repairs.
5. Gather the Necessary Tools and Materials
Before you begin the installation process, make sure you have all the necessary tools and materials. These may include:
- Wrenches and pipe cutters
- Soldering equipment
- Teflon tape and pipe joint compound
- Pipe fittings, valves, and connectors
- Water heater straps or brackets
- Electrical wiring and conduits (if applicable)
6. Prepare the Installation Site
Once you've chosen the ideal location for your hot water reservoir, you need to prepare the site for installation. This may involve:
- Removing any obstacles or debris from the area
- Ensuring the floor is level and can support the weight of the tank
- Installing a drain pan under the tank to catch any leaks or spills.
- Providing proper ventilation for gas or propane water heaters
7. Install the Hot Water Storage Tank
With the site prepared, you can now install the hot water storage tank. Follow the manufacturer's instructions and local building codes to ensure a safe and proper installation. Some steps may include:
- Positioning the tank on the drain pan or support platform.
- Installing the temperature and pressure relief valve
- Connecting the water supply lines and hot water outlet pipes.
- Securing the tank with straps or brackets, if required

8. Connect the Plumbing and Electrical Systems
After installing the tank, you need to connect it to your home's plumbing and electrical systems. This may involve:
- Connecting the cold water supply line to the tank's inlet valve and the hot water outlet pipe to your home's plumbing system
- Installing shut-off valves on the supply and outlet lines for easy maintenance and repairs
- Connecting the temperature and pressure relief valve to a discharge pipe
- Wiring the water heater to your home's electrical system, if applicable
9. Fill the Tank and Test the System
Before turning on the water heater, you need to fill the tank with water. This helps prevent damage to the heating elements and ensures the system functions properly. To fill the tank:
- Open the shut-off valves and allow the tank to fill with water.
- Open the hot water faucets in your home to release air trapped in the pipes.
- Once water begins to flow from the faucets, close them and check for any leaks around the tank and connections.
10. Insulate the Tank and Complete the Installation
To improve the energy efficiency of your hot water reservoir, consider insulating the tank and the hot water pipes. You can use pre-cut insulation blankets or foam pipe insulation to cover the tank and pipes. Finally, review the manufacturer's instructions and local building codes to ensure your installation complies with all safety and efficiency requirements.
Conclusion
Installing a hot water reservoir can be a challenging task, but with proper planning and preparation, it's a project that can be completed by a skilled DIYer or with the help of a professional plumber. By following these 10 steps, you'll be on your way to enjoying a continuous supply of hot water in your home, improving your comfort and convenience. Say goodbye to those cold showers and long waits for hot water!


0 Comments